


If you have read our previous guides on Mandalas or Botanical Designs, you might have felt inspired to pick up a dotting tool and try it yourself. But if you have ever tried painting directly onto a raw terracotta plate, you likely encountered a frustrating problem:
The clay drank your paint.
What started as a plump, juicy dot dried flat and dull. Or worse, the paint peeled off a week later.
Terracotta is a beautiful material, but it is porous. It breathes. This makes it a tricky canvas compared to a primed canvas or paper. In this technical guide, we are pulling back the curtain on the professional methods used by artisans (including those at Budivis) to achieve those crisp, raised, shiny dots that last a lifetime.
Step 1: Preparation is Everything

You cannot simply paint on raw "bisque" (fired but unglazed) terracotta and expect professional results. The clay is thirsty and will absorb the moisture from your acrylics instantly.
The Sealing Secret
Before a single dot is placed, the plate must be sealed.
- The PVA Method: Many hobbyists use a mixture of PVA glue and water (50/50 mix) to seal the pores. This works for practice.
- The Professional Method: For high-quality decor, we recommend a water-based acrylic sealer or a base coat of outdoor acrylic paint. This creates a barrier. It ensures that when you place a dot of paint, it sits on top of the surface rather than soaking into it.
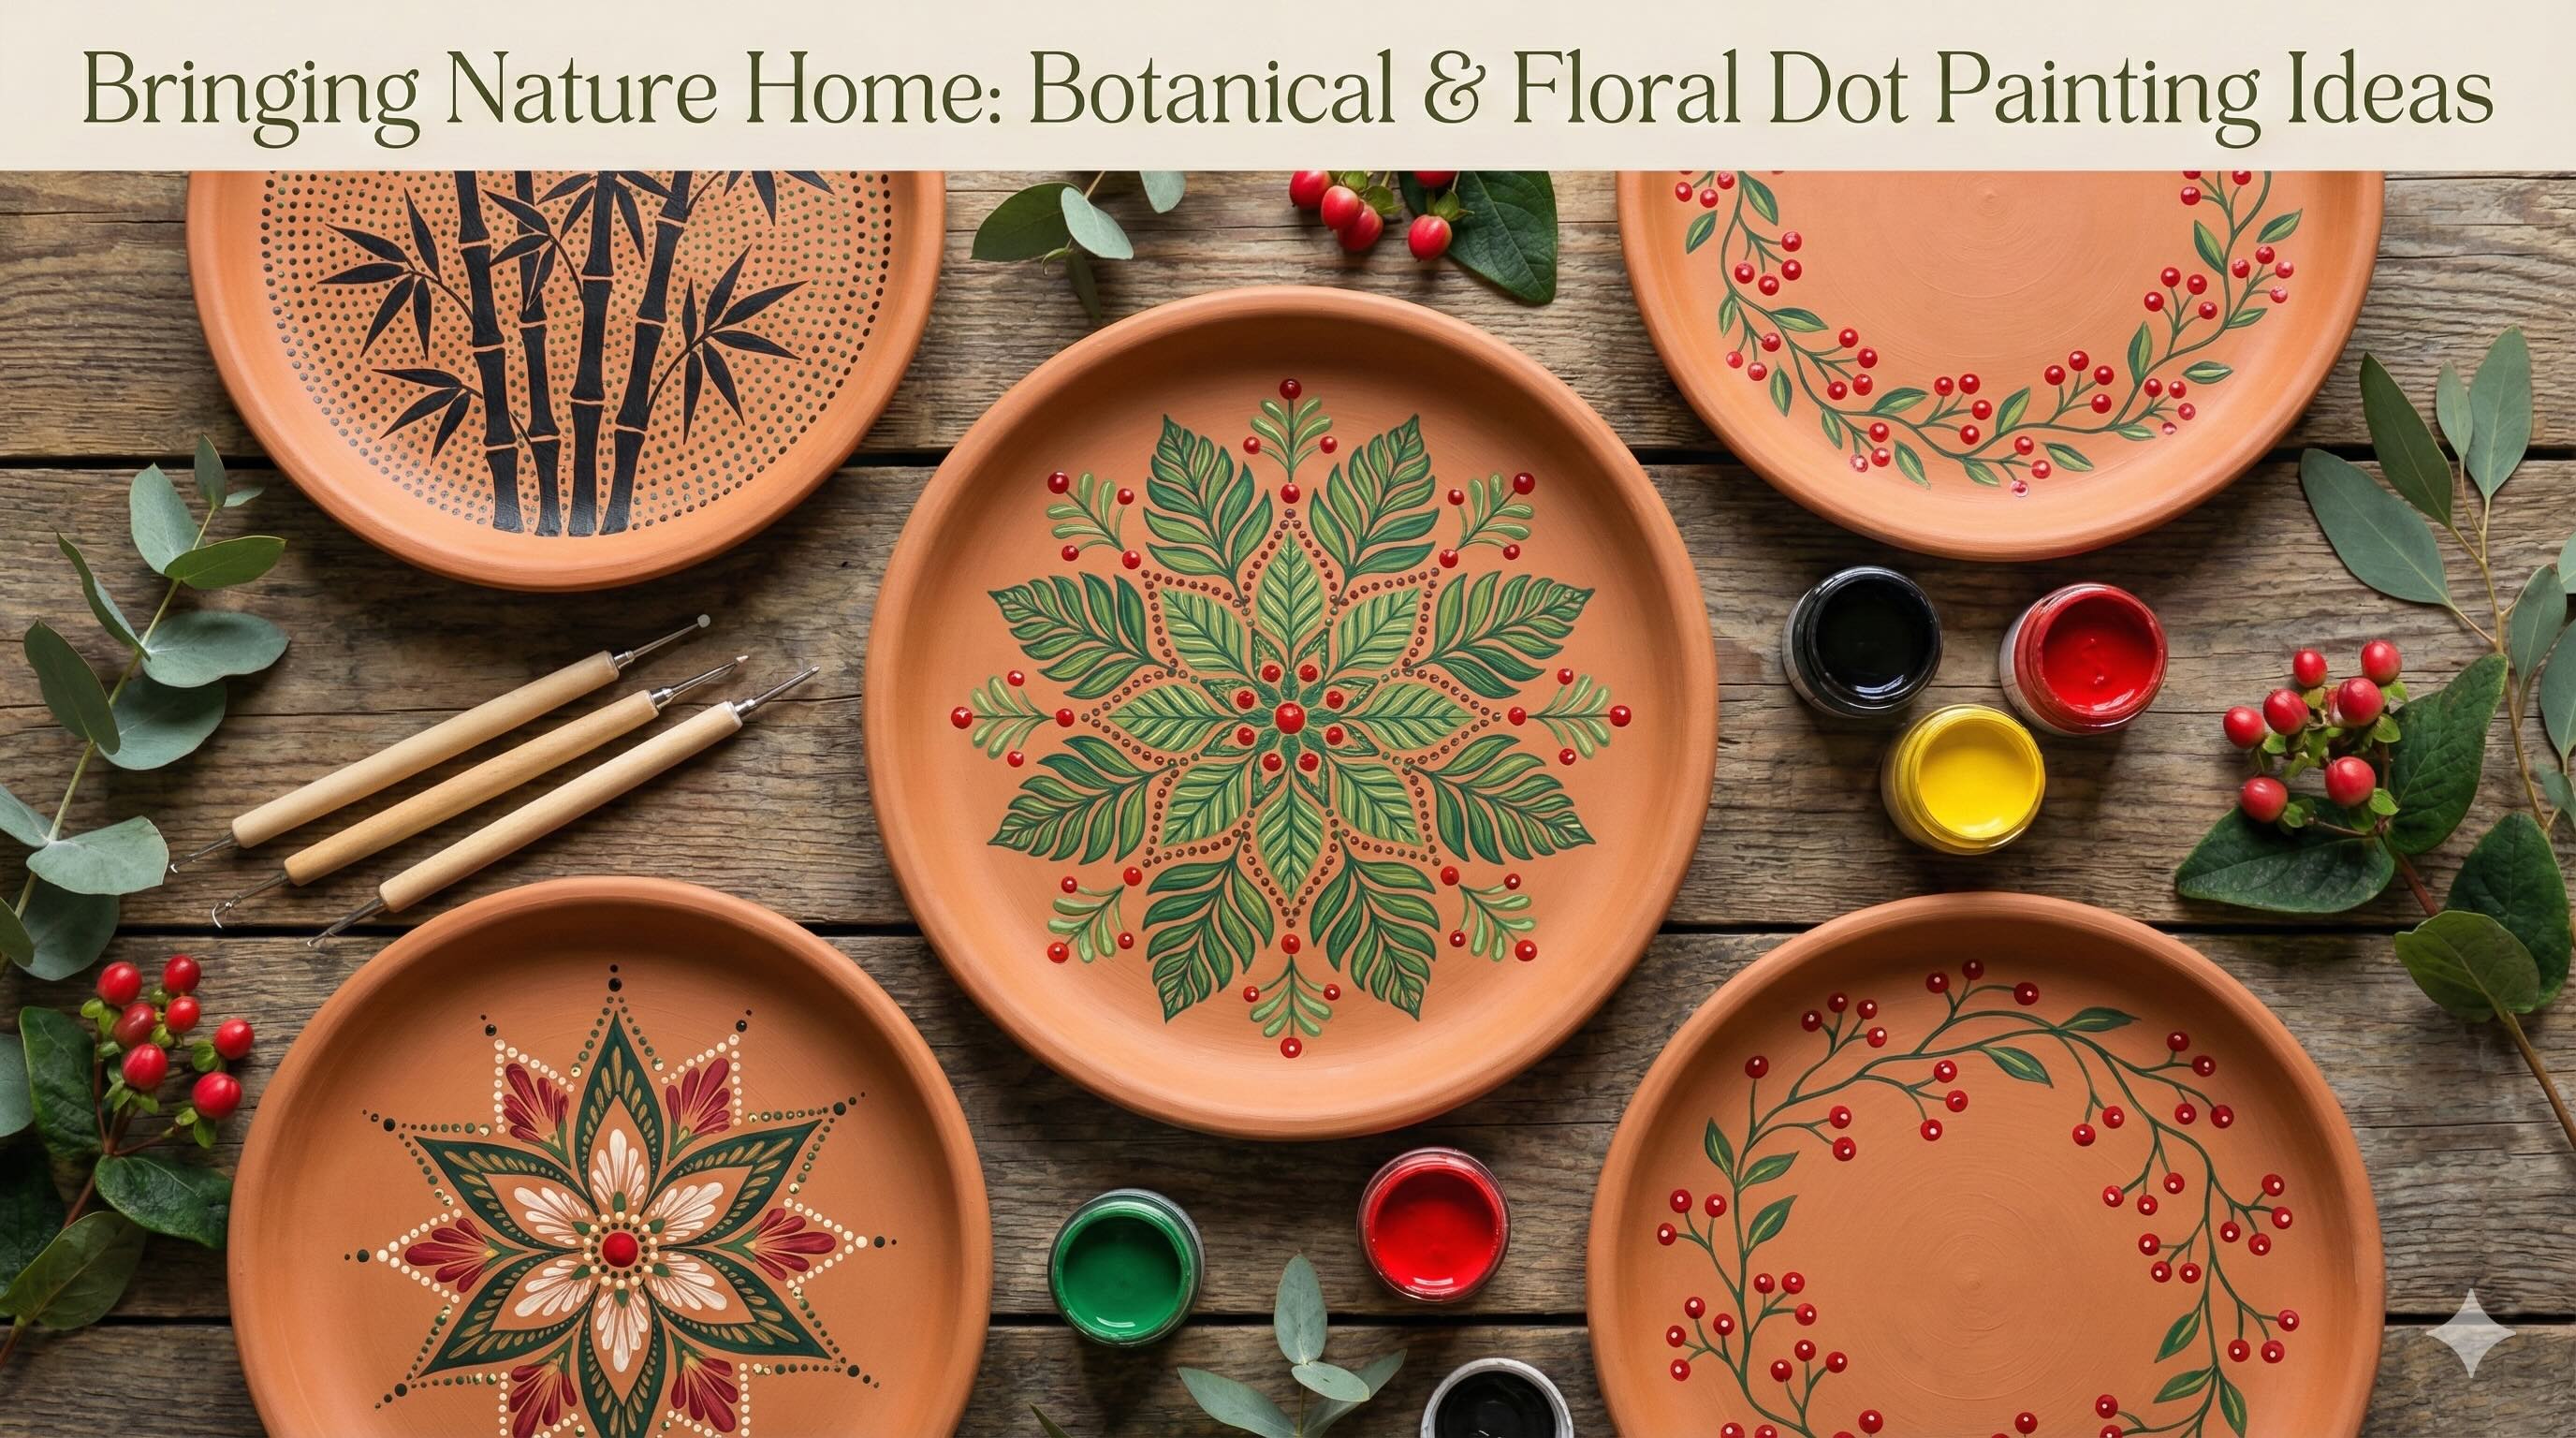
Pro Tip: If you want the natural red clay to show through (like in our [Botanical Leaf designs]), use a matteclear sealer. It protects the clay without changing its rustic look.
Step 2: Choosing the Right Paint (Viscosity Matters)
Not all acrylic paints are created equal. If you buy cheap "craft paint" that is runny, your dots will spread and flatten.
For perfect pointillism, you need High Viscosity or Heavy Body acrylics.
- Why? Heavy body paint holds its shape. When you lift your tool, the paint should form a nice, rounded dome.
- Testing Consistency: Dip a toothpick into your paint and pull it up. If it drips instantly, it’s too thin. If it forms a stiff peak that doesn't settle, it’s too thick. You want a consistency like thick yogurt or honey—it should hold a dome shape but settle slightly so there isn't a sharp point on top.
Step 3: The Tool Kit
 You don't need expensive brushes. In fact, brushes are rarely used for the actual dots.
- Acrylic Rods: These are flat-ended plastic or acrylic cylinders used for the large dots (the centre of a mandala). They range from 3mm to 15mm.
- Ball Styluses: These look like pens with a metal ball at the end. They are essential for "walking the dots" (making tiny rings of dots) and creating fine details like the veins in our [Monochrome Bamboo] plates.
- Silicone Sculpting Tools: Used not for adding paint, but for removing mistakes. If you place a dot wrong, wait for it to dry slightly and scrape it off with a silicone tip.
Step 4: Troubleshooting Common Issues
Even with the right tools, things can go wrong. Here are the most common issues we see and how to fix them.
Problem: "My dots look like donuts (hole in the middle)."
Cause: This happens when there is an air bubble in the paint, or you didn't load enough paint onto the tool.
Fix: Reload your tool for every single dot. Do not try to paint two large dots with one dip.
Problem: "My dots have sharp peaks (Hershey's Kisses)."
Cause: Your paint is too thick or old.
Fix: Add a single drop of "Flow Improver" or water to your paint mix. Alternatively, tap the bottom of the plate gently on the table while the paint is wet to help it settle.
Problem: "My dots are merging together."
Cause: You are placing them too close before they dry, or the surface is uneven.
Fix: Patience. If you are doing a complex Whimsical Village scene, let the background layer dry completely before adding the detail dots on top.
Step 5: The Final Coat (Varnishing)
 Terracotta is brittle. To make your art durable enough for shipping or daily dusting, it must be varnished.
- Gloss Varnish: This is the most popular choice for mandalas. It makes the colours "pop" and gives the dots a jewel-like appearance.
- Matte Varnish: Best for the Folk Art style where you want to keep the rustic, old-world feel.
- Spray vs. Brush: Always use a spray varnish for the first coat. Brushing varnish over uncured dots can smear your hard work. Once the spray coat is dry, you can apply a liquid varnish for extra protection.
Conclusion
Creating high-quality terracotta dot art is a science as much as it is an art. It requires understanding how the clay behaves, controlling the viscosity of your paint, and having the patience to let layers dry. But the result—a textured, tactile piece of art that invites you to touch it—is worth the effort.
Partner with Budivis for Professional Quality
If you love the look of these plates but don't have the time to paint hundreds of them for your store, let us help. Budivis employs skilled artisans who have mastered these techniques.
- Quality Control: We ensure every single piece is properly sealed and varnished, so the paint will never peel or fade.
- Material Sourcing: We use high-grade terracotta and professional acrylics that withstand international shipping.
- Consistent Production: Whether you order 50 plates or 500, our team ensures the design quality remains consistent across the entire batch.
- Custom Shapes: Beyond plates, we can apply these techniques to vases, bowls, and planters.
Contact Budivis today to discuss your wholesale needs and request a sample of our durable, hand-painted terracotta. Watch our live product here.
Related Products

Bamboo Art Dot Mandala Terracotta Decorative Plate, Nature-Inspired Terracotta Plate Wall Art
Wholesale Bamboo Art Dot Mandala Terracotta Decorative Plate, Nature-Inspired Terracotta Plate Wall ArtEnhance your collection with our Hand Dot Painted Terracotta Wall Plate, 100% handmade in Bali by skilled artisans. Featuring intricate mandal...

Gecko Hand-Dotted Terracotta Wall Plate, Animal Terracotta Plates Wall Décor
Wholesale Gecko Hand-Dotted Terracotta Wall Plate, Animal Terracotta Plates Wall DécorEnhance your collection with our Hand Dot Painted Terracotta Wall Plate, 100% handmade in Bali by skilled artisans. Featuring intricate mandala, floral, spiral...

FloralPattern Terracotta Vase, Handmade Decorative Flower Vase, Artisan Terracotta Vases Ornament Dot Art
Elevate your product line with these Artisan Terracotta Vases & Decor, crafted from natural clay and finished with detailed handmade touches. Each piece showcases rustic charm combined with contemporary styling, perfect for modern boho and earthy int...

Bamboo Dot Mandala Terracotta Decorative Plate, Nature-Inspired Terracotta Plate Wall Art
Wholesale Bamboo Dot Mandala Terracotta Decorative Plate, Nature-Inspired Terracotta Plate Wall ArtEnhance your collection with our Hand Dot Painted Terracotta Wall Plate, 100% handmade in Bali by skilled artisans. Featuring intricate mandala, f...

Blue Petals Dot Painted Terracotta Plate, Handmade Dot Art Terracotta Wall Plates
Wholesale Blue Petals Dot Painted Terracotta Plate, Handmade Dot Art Terracotta Wall PlatesEnhance your collection with our Hand Dot Painted Terracotta Wall Plate, 100% handmade in Bali by skilled artisans. Featuring intricate mandala, floral, ...

Black White Tree Handmade Dot Mandala Terracotta Plate – Dot Art Terracotta Decorative
Wholesale Black White Tree Handmade Dot Mandala Terracotta Plate – Dot Art Terracotta DecorativeEnhance your collection with our Hand Dot Painted Terracotta Wall Plate, 100% handmade in Bali by skilled artisans. Featuring intricate mandala, flor...

Dot Art Painting Whimsical Folk Art Villages, Life Tree Dotwork Terracotta Wall Decor
Wholesale Dot Art Painting Whimsical Folk Art Villages, Life Tree Dotwork Terracotta Wall DecorEnhance your collection with our Hand Dot Painted Terracotta Wall Plate, 100% handmade in Bali by skilled artisans. Featuring intricate mandala, flora...

Coaster Dotwork Terracotta, Unique Coaster Dot Art, Handpainted Coaster
Wholesale Coaster Dotwork Terracotta, Unique Coaster Dot Art, Handpainted CoasterEnhance your collection with our Hand Dot Painted Terracotta Wall Plate, 100% handmade in Bali by skilled artisans. Featuring intricate mandala, floral, spiral, and...

Monochrome Floral Pattern Terracotta Vase, Handmade Decorative Flower Vase, Dot Painting Box on Vase
Add a colourful touch with this Dot Art Trinket Box, designed for small storage with detailed dot painting craftsmanship. Each piece is uniquely hand-painted. Ideal for boho decor retailers and gift markets. Budivis offers wholesale pricing, custom de...

Hand Painted Floral Terracotta Vase, Handmade Decorative Flower Vase, Aboriginal Style Dot Painting Vases
Bring authentic cultural artistry into your collection with this Aboriginal Style Dot Painting, a handcrafted decorative piece inspired by traditional dot painting techniques. Each design is carefully created by skilled artisans, featuring intricate ...
Related Blog

Monochrome Elegance: Mastering Black & White Pointillism on Terracotta
In our previous explorations of terracotta art, we have celebrated colour—from the spiritual spectrum of Mandala Magic to the playful primary colours of Whimsical Folk Art. But sometimes, the most powerful statement you can make is the a...
- 0
- 306

Handcrafted Wooden Coaster Sets Premium Table Decor for Wholesale Buyers
Hand-Painted Blue Mandala Terracotta Disk Enhance your collection with this exquisite hand-dotted terracotta plate, featuring a vibrant blue mandala design meticulously crafted by Bali's finest artisans. A p...
- 0
- 277
Bringing Nature Home: 5 Botanical & Floral Dot Painting Ideas for Terracotta
In the world of interior design, there is a concept known as Biophilic Design. Simply put, it is the practice of connecting people and nature within our built environments and communities. We see it in the explosion of houseplant popularity, the...
- 0
- 281

Mandala Magic: Mastering Symmetrical Dot Art on Terracotta Plates
There is something undeniably hypnotic about a mandala. The word itself comes from Sanskrit, meaning "circle," and represents wholeness, eternity, and the universe. When applied to home decor—specifically through the technique of dot painting on...
- 0
- 335

Black Wooden Vase with Tribal Dot Art – A High-Demand Decorative Piece for Wholesale Buyers
Classic Black Dot Art Terracotta Vase Elevate your home decor collection with this exquisite handmade terracotta vase, featuring a sophisticated black dot art pattern meticulously applied...
- 0
- 258

Beyond Mandalas: Painting Whimsical Folk Art Villages on Pottery
While the precise geometry of a mandala can be deeply meditative, there is another side to terracotta art that is just as captivating: Storytelling.If you have mastered the basics from our Beginner’s Guide to Hand-Painted Terracotta, you kn...
- 0
- 300

Hand-Painted with Soul: Meet the Balinese Artisans Behind the Dots
Over the last six articles, we have journeyed through the technical and aesthetic world of terracotta dot art. We have explored the sacred geometry of Mandalas, the playful storytelling of Whimsical Folk Art, and the modern sophistication o...
- 1
- 345

The Beginner’s Guide to Hand-Painted Terracotta: Mastering Dot Art & Mandalas
In the world of interior design, trends come and go, but the appeal of handmade, artisanal decor is timeless. There is something deeply grounding about bringing natural materials into our homes. Lately, one specific art form has captured the hearts o...
- 0
- 314